An ideal website project is a symphony of collaboration, creativity, and technical execution, ensuring the final product not only meets but exceeds client expectations. From the initial spark of an idea to the grand launch and beyond, each phase plays a crucial role in crafting a digital presence that truly shines. Let’s break down the journey of an ideal website project, step by step.

Phase 1: The Genesis – Initial Client Contact and Requirements Gathering
The foundation of any successful website project is a thorough understanding of the client’s vision, goals, and target audience. This phase begins with the first contact, often a discovery meeting, where the project manager or lead designer acts as an empathetic listener, delving deep into the client’s needs.
Key questions to address include:
- What is the primary purpose of the website? Is it to generate leads, sell products, provide information, or build a community?
- Who is the target audience? Understanding demographics, psychographics, and user behaviour is paramount for tailoring design and content.
- What specific functionalities are required? This could range from e-commerce capabilities to booking systems, blog sections, or interactive forms.
- Are there any existing brand guidelines or assets? Logos, colour palettes, typography, and existing content are vital for maintaining brand consistency.
- What are the client’s competitors doing? A competitive analysis can reveal opportunities and pitfalls.
- What is the desired timeline and budget? Setting realistic expectations from the outset is crucial for project management.
During this stage, it’s also important to discuss the client’s preferred content strategy. Will they provide all content, or will the project team be responsible for content creation? A detailed “Website Requirements Document” should be draughted, summarising all findings and agreed-upon specifications. This document serves as the project’s bible, guiding all subsequent stages and preventing misunderstandings.

Phase 2: Blueprinting Brilliance – Layout Mock-ups and Client Approval
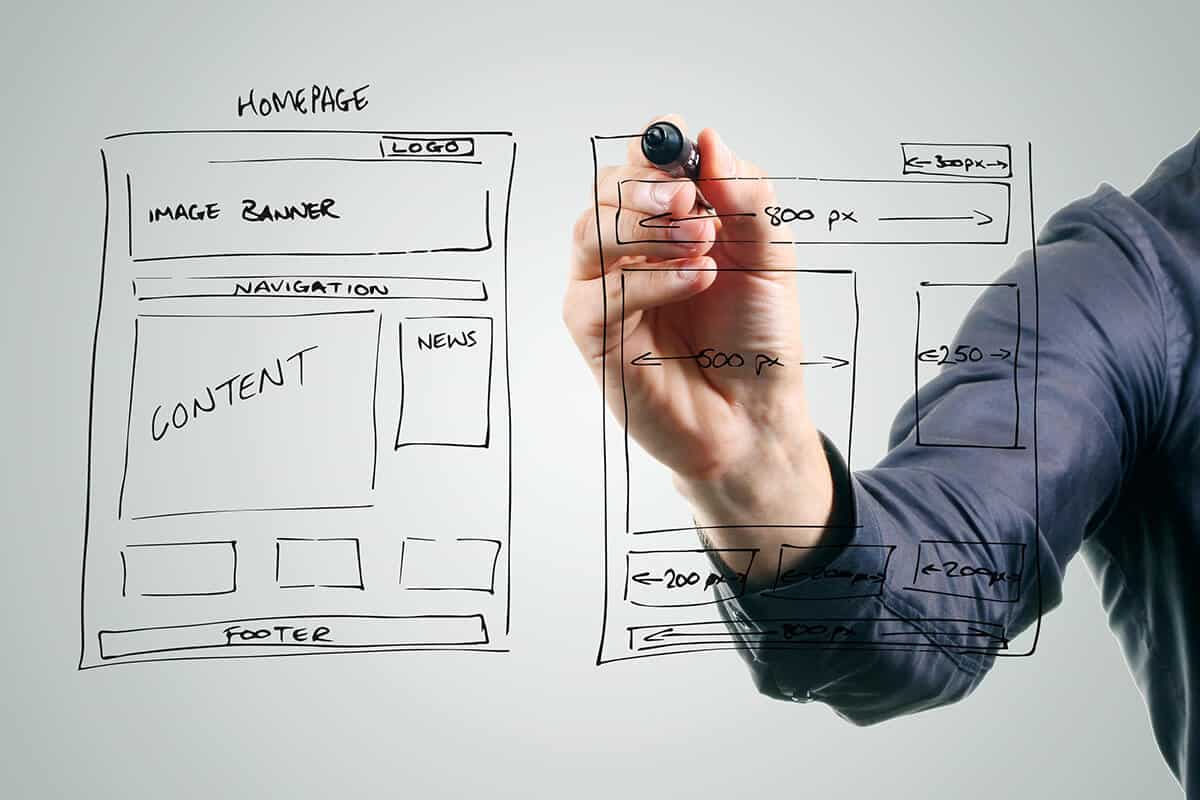
Once the requirements are clear, the project enters the design phase, which begins with the creation of layout mock-ups. This is where the website’s visual identity and user experience begin to take shape.
Tools like Figma or Adobe Illustrator are indispensable during this phase. Designers create wireframes and then high-fidelity mock-ups that visually represent the website’s structure, content placement, and overall aesthetic. These mock-ups are static representations, providing a clear picture of what the live website will look like without any coding.
The mock-ups focus on:
- Information Architecture: How content is organised and navigated.
- User Interface (UI) Design: The visual elements users interact with, such as buttons, menus, and forms.
- User Experience (UX) Design: Ensuring the website is intuitive, efficient, and enjoyable to use.
- Brand Integration: Incorporating client branding elements seamlessly.
Crucially, these mock-ups are presented to the client for discussion and approval. This is an iterative process. Feedback is gathered, revisions are made, and further discussions ensue until the client is completely satisfied with the proposed design. This iterative feedback loop using visual mock-ups is vital to avoid costly changes later in the development cycle. Getting the client’s explicit sign-off on the mock-ups is a critical milestone before moving into development.

Phase 3: Bringing it to Life – Coding and Website Creation
With approved mock-ups in hand, the development team swings into action. The development team transforms the static designs into a dynamic, functional website at this stage.
For many projects, a Content Management System (CMS) like WordPress is the platform of choice due to its flexibility, extensive plugin ecosystem, and user-friendliness for content management post-launch.
The development process typically involves:
- Setting up the Development Environment: Installing WordPress, configuring the server, and setting up version control (e.g., Git).
- Theme Development or Customisation: creating a custom WordPress theme from scratch based on the approved mock-ups or customising an existing theme. This involves writing clean, semantic HTML for structure, CSS for styling (colours, fonts, spacing, and responsiveness), and JavaScript for interactive elements.
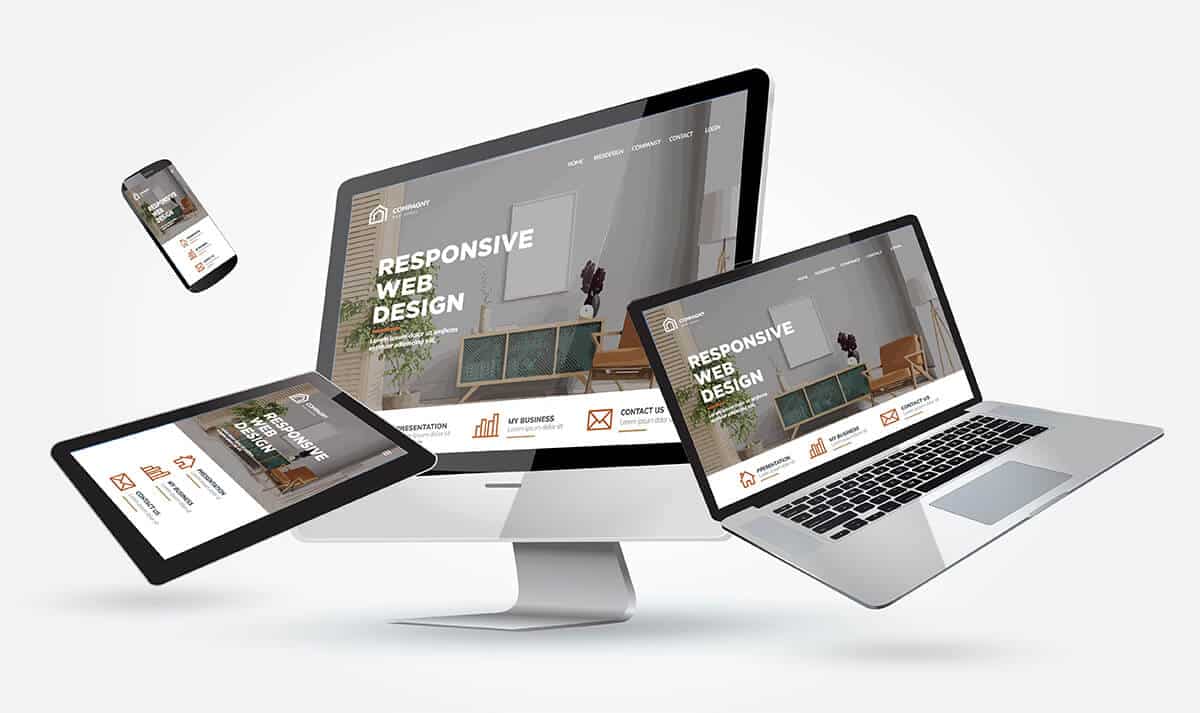
- Frontend Development: Ensuring the website is responsive, meaning it adapts seamlessly to various screen sizes (desktops, tablets, mobile phones). This is a crucial aspect of modern web development.
- Backend Development: Implementing any custom functionalities, database integrations, or server-side logic required for features like e-commerce, user accounts, or complex forms.
- Content Integration: Populating the website with the actual text, images, videos, and other media provided by or created for the client.
SEO Best Practices: Implementing fundamental search engine optimisation (SEO) techniques during development, such as clean URLs, meta descriptions, image alt tags, and semantic HTML structure, will give the website a strong start in search engine rankings.
Throughout this phase, developers maintain open communication with the project manager and designers to ensure the coded website accurately reflects the approved design and functionalities. Regular internal reviews and testing are conducted to catch and resolve issues early.

Phase 4: Polish and Perfection – Checking, Correcting, and Quality Assurance
Before the grand unveiling, the website undergoes rigorous testing and quality assurance (QA). This phase is critical to ensure a flawless user experience and technical performance.
Testing covers a wide array of aspects:
- Functionality Testing: Every button, link, form, and interactive element is tested to ensure it works as intended.
- Responsiveness Testing: Checking how the website displays and functions across various devices and browsers (Chrome, Firefox, Safari, and Edge).
- Performance Testing: Evaluating loading speeds and optimising images and code to ensure the website is fast and efficient. Tools like Google PageSpeed Insights can be invaluable here.
- Security Testing: Identifying and patching any potential vulnerabilities.
- Content Review: Proofreading all text for grammatical errors, typos, and accuracy.
- Cross-Browser Compatibility: Ensuring consistent appearance and functionality across different web browsers.
User Acceptance Testing (UAT): The client is given access to a staging environment (a copy of the website not yet live) to perform their testing and provide final feedback. This is the last chance for the client to request minor adjustments before launch.
The development team meticulously addresses any bugs, glitches, or required corrections identified during this phase until they deem the website perfect.

Phase 5: The Grand Opening – Launch and Post-Launch Documentation
The website launch is the crucial moment! This involves migrating the final website from the staging environment to the live production server.
Key launch steps include:
- Final Pre-Launch Checks: A last-minute review of all critical functionalities and content.
- DNS Propagation: Updating Domain Name System (DNS) records to point the domain name to the new website.
- Google Analytics and Search Console Setup: Ensuring tracking is correctly configured to monitor website performance and search engine visibility.
- Backup Strategy Implementation: Setting up regular backups to protect against data loss.
After the launch, the project doesn’t necessarily end. It’s often beneficial to provide the client with comprehensive documentation. This documentation typically includes:
- CMS Usage Guide: Instructions on how to manage content, add new pages or posts, and update plugins within WordPress.
- Website Maintenance Guidelines: Recommendations for regular updates, security checks, and performance monitoring.
- Troubleshooting Tips: Common issues and how to resolve them.
- Contact Information: For ongoing support or future enhancements.Some agencies also offer post-launch maintenance packages, including regular updates, security monitoring, and performance optimisation, ensuring the website continues to perform optimally and remains secure in the ever-evolving digital landscape.


